
Yoga for lower back pain and hips pain
Our sedentary and not so energetic loves have got us all into the thing call the pain in the lower back or pelvis area. Thus pain owes a lot to our postures, work regulation, sitting, or even sleeping. It is the lethargy that takes over us completely while being limited to our desk workstations at home during such a pandemic run. But here, yoga for lower back pain and hips pain comes to save you in your distress.
The more strained and irregular postures of your back lead to pain in your lower back which then leads to somewhat hip pain. So we can say that these two are mainly interconnected and can be cured all the way back. The stress of prolonged sitting on a table or bad postures makes your lower back muscles stiff which initiates a carving pain all the way down to your hips. It is that correlated that at times we barely miss to differential the part we are actually having pain in.
So with all our entirely disturbed work routines and highly damaged postures and efforts, we still have hope in gaining our swift movement of back and hips back. This all can be achieved by putting a little effort into your agonized lives by adding yoga to it. So we present you with soothing yoga poses for your ever hurting back and hips.
Major causes responsible for lower back and hip pain
In addition to our helpless work routine, there are some more major causes responsible for lower back and hip pain. Some of these are listed below while there may be something more in-depth.
- Muscle pull
- Pinching of nerve
- Arthritis
- Herniated disc
- Compression fractures
- Infection
Daily Life tips for recovering the lower back and hip pain
Life-saving tips for curing or preventing lower back pain and hip pain. These can be done entirely by your own will of recovering and takes few minutes to show effect.
1. The use of packs
The use of packs can be handy when you have lower back pain. These packs are categorized into ice and heat packs.
Whenever you have pain in your back or muscular pain as a result of any injury try putting these packs on your targeted area. But all of this has to be in a sequence, you cannot apply both of these at a particular time.

Try to apply cold ice in the early hours between 24 to 48 hours after injury of the muscle pull. You should buy a medicated ice pack or use ice wrapped in a cloth.
After 48 hours if you do not feel your back recovering you can now apply hot packs or a warm water bottle to your targeted area. Do not apply these straight on your skin. Try using cloth.
Note: Do not use any of the types of two packs on your injured parts for more than 10 minutes.
2. Readjusting your workstation
Sitting all day long on a desk or using a laptop even on your bed can make your lower back stressed and painful. Your routine can not make your back relaxed without helping it with some workout and stretch. In addition to adding workout or yoga to your routine do some efforts for making your workstation a bit more supportive.
Try to consume cushions for your back support while sitting on the chair.
Use a more comfortable chair.
Use a desk of proper height making your spine extend fully.
Use a back support if possible.
3. Regulating the sleep routine
Sleeping or even lying in an awkward position for too long can also initiate your lower back pain. Try to sleep on one side with your knees folded towards your chest. This pose is considered ideal for relieving your back stress pain. Taking in 1 or 2 pillows in between your legs will soothe your back more.
Try to change your mattress as well if it’s too soft and does not maintain your back shape.
4. Eat consciously
When it comes to your muscles and joints eating muscle or bone-friendly supplements plays an equal part in addition to your workouts. A lot of mixed nutrients can help your bones grow long and in strength. These balanced diets can help you maintain your weight which will eventually pose less stress on your back and joints.
This helpful diet must contain a good amount of calcium, vitamin essential minerals, phosphorus, and more. Eating healthy makes you grow and glow inside out.
5. Practice yoga
Adding yoga to your life will also help you sort out your lower back problems. A good stretch after a tiring work routine will redefine your body posture and releases stress on your lower back. For starting a good tireless day, I suggest you practice the sun salutation sequence for 1 2 rounds at least.
Check our detailed article on sun salutation sequence.
Is yoga good for back and hip pain?
The stretch, bend, twist, and turns of yoga are the answers to many unknown and known problems of our body. These twists and stretches can be specific to some areas but do imply beneficial effects in more than just the targeted areas. So is yoga good for back and hip pain? The answer is yes for sure !!
Specific asanas when practiced with regularity will let your back and hip pain heal with many more internal benefits. In addition to relieving pain, these yoga postures will help you boost up your stamina, increases immunity, reduces your body stiffness, and recovers your joints and muscles back to their places.
So without wasting much time, let us head towards the poses.
Yoga poses for lower back pain
Yoga poses for lower back pain will help your body to rejuvenate the muscle and joint strength of the targeted area. According to recent studies, it also proves that your hip flexor muscles are directly attached to your lumbar spine so treating that will indirectly soothe your hip pain without specific efforts if not needed.
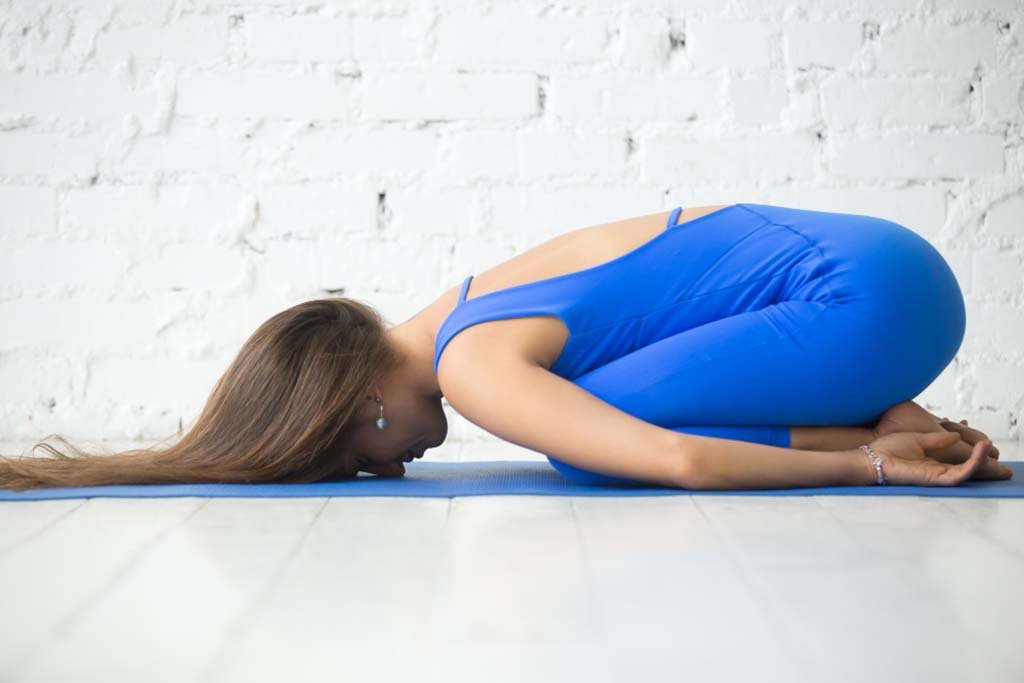
Embryo pose
Let’s start with relaxing your body with the release of tension in this relaxing resting pose. These types of poses give your body a good kick start for the rest of the process.
Just as the Embryo lies all twisted. Lie down on your mat with your knees bent such that you sit on your heels. Now lower your upper body and place your chest on your thighs and head on the floor in front of your knees. For more relaxed shoulders, drag down your arms on the side of your body.
Inhale before your start this pose and release your breath in smalls breaths as you lie down in this position.
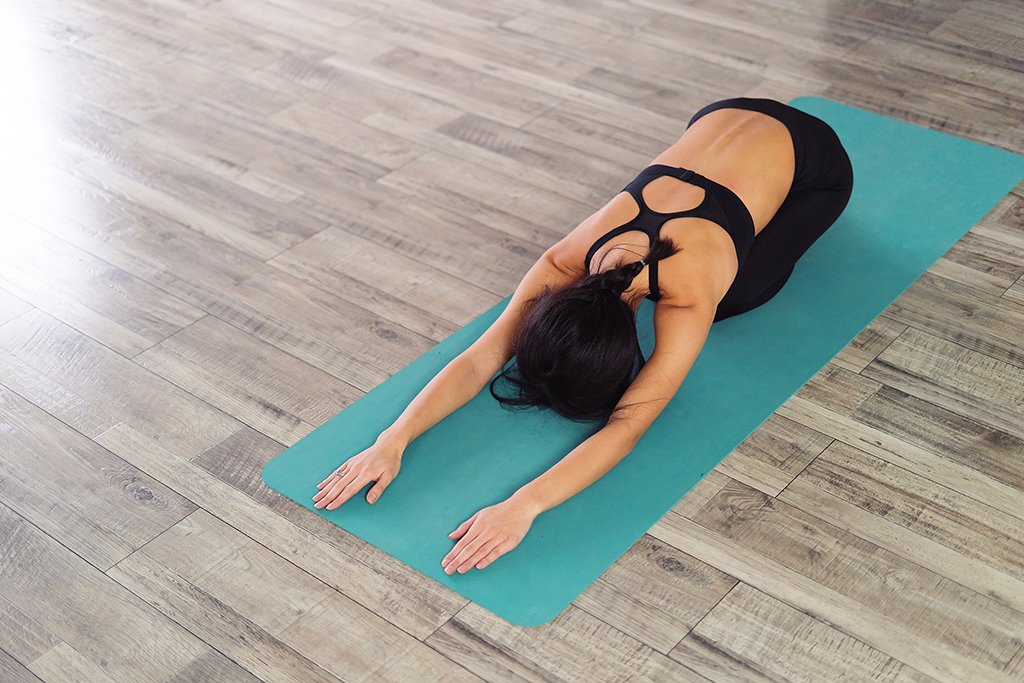
Child pose
For further hip opening and extension of lower back transit from the Embryo pose to the child’s pose.
With the Embryo pose, extend your arms above your head and knees a bit slanted outwards than before. You can raise your hips from your heels as your aim to put your head on the ground. This will help your put stretch on your flexor muscles of the hip and lumbar spine.
Breath in before you stretch and exhale in small breathing rhythms.
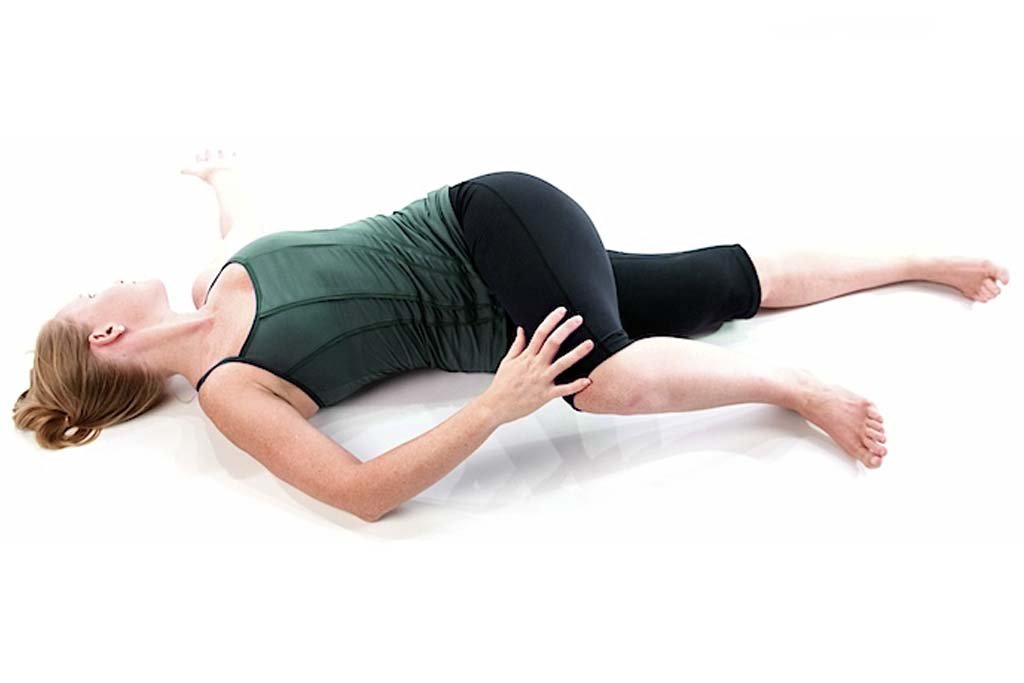
Supine twist pose
This yoga pose is evidently good in relaxing the muscles along the spine and outer hips.
To start, lie on the mat with one leg straight and another hugging directly to your chest. Move your right knee just on the other side of your body with help of your left hand. Guide your knee such that your spine forms a twist in the lower section. For deeper invasion, try to twist your head on the side opposite to your head.
Exhale in short breaths on each side equally as your repeat the pose on both sides.
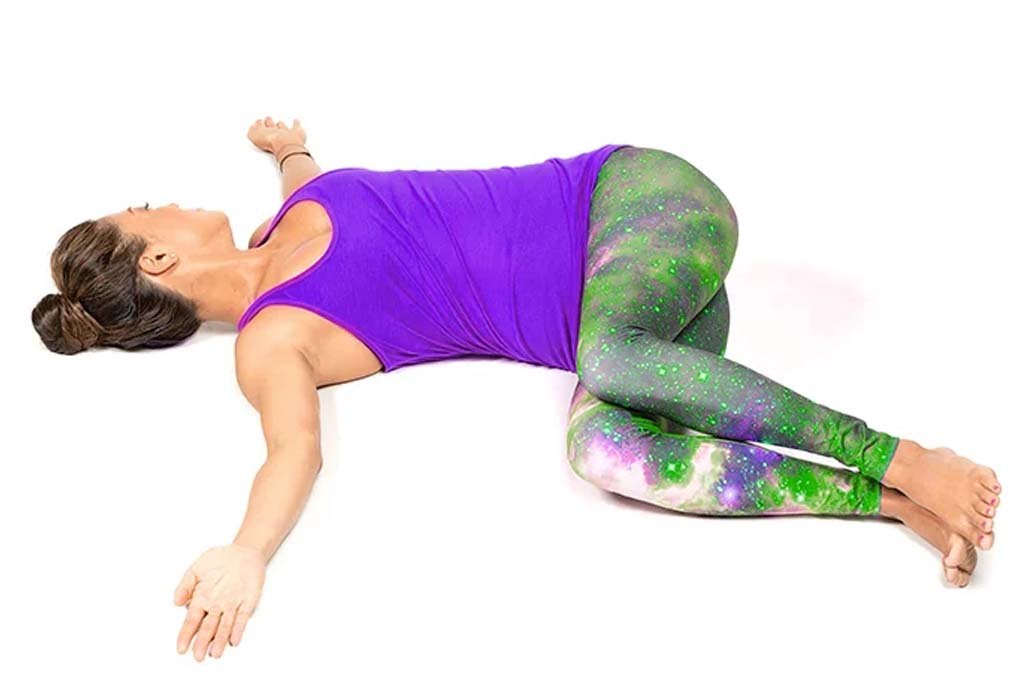
Two knee twist pose
This pose is essential to work on the rotational movements of your lower back and hips.
Lie on the tumor yoga mat straight with your knees bend at a distance of hips apart. Now bend your knees towards one side as your other heel touched your thigh of that side. Engrave your hands alongside your body. Rotate your knees on both sides with an equal number of slow breaths.
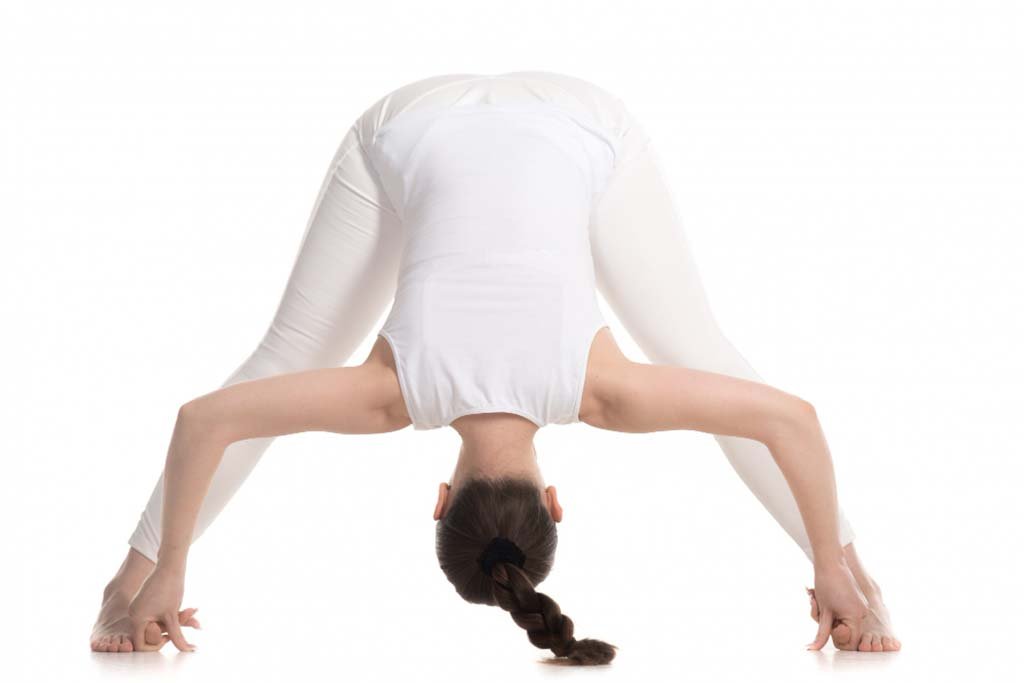
Wide legged Forward Fold pose
This stretch focused on your glutes and lower back area with the hamstrings alongside.
Start with the standing position with your legs open apart making space for the forward. Now before bending, lower your hips that will create a bend in your knees. With that lowering of your upper body move forward and bend down your upper body such that your elbows touch down the ground.
For beginners, the bend can just have palms touching the ground. Wait for at least 10 breaths and retaliate to your standing position to repeat the pose.
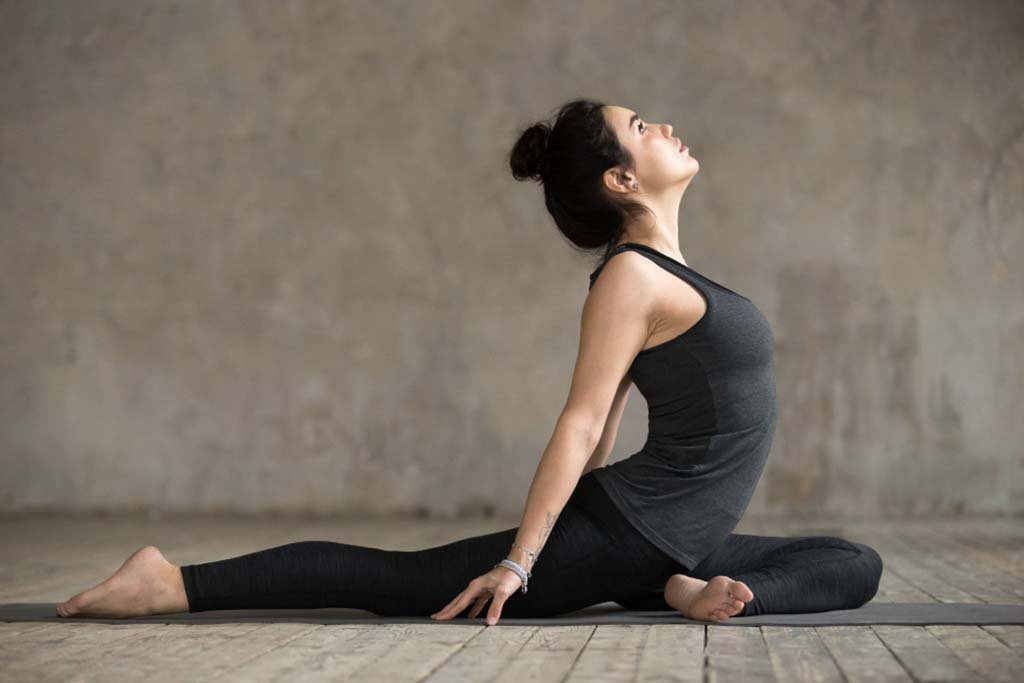
Seated twist pose
This pose works your glutes and lowers back.
Sit on your yoga mat with your knees bend. Now cross your right heel over your left thigh and move it towards your left hip bone. To support your leg you can use your left hand to hold your right thigh. Move your other hand at the back with your fingers tucked to the ground. As you move your hand back, twist your spine towards that hand. Keep your hand and gaze straight and try to sit with maximum length at the spine as possible.

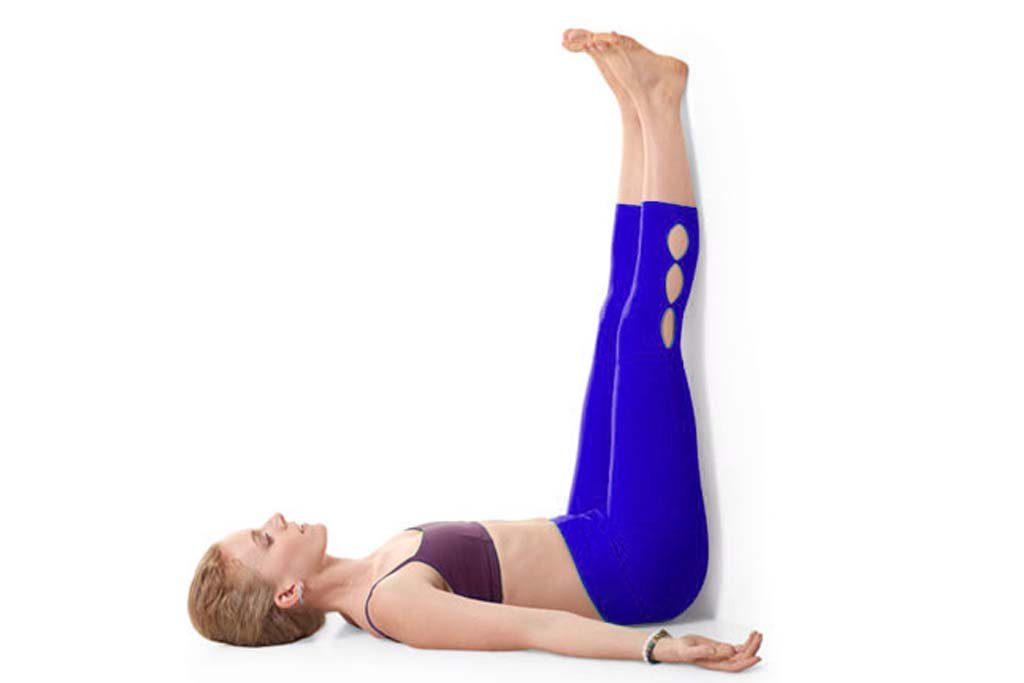
Legs up the wall pose
This stretch helps your increase your spine length and adjust the posture right.
Lie down on your yoga mat with your legs up the wall. Try to maximize your spine long as you attach your legs to the wall. Hold this pose for some breaths and keep your shoulders and neck straight in line with your spine.
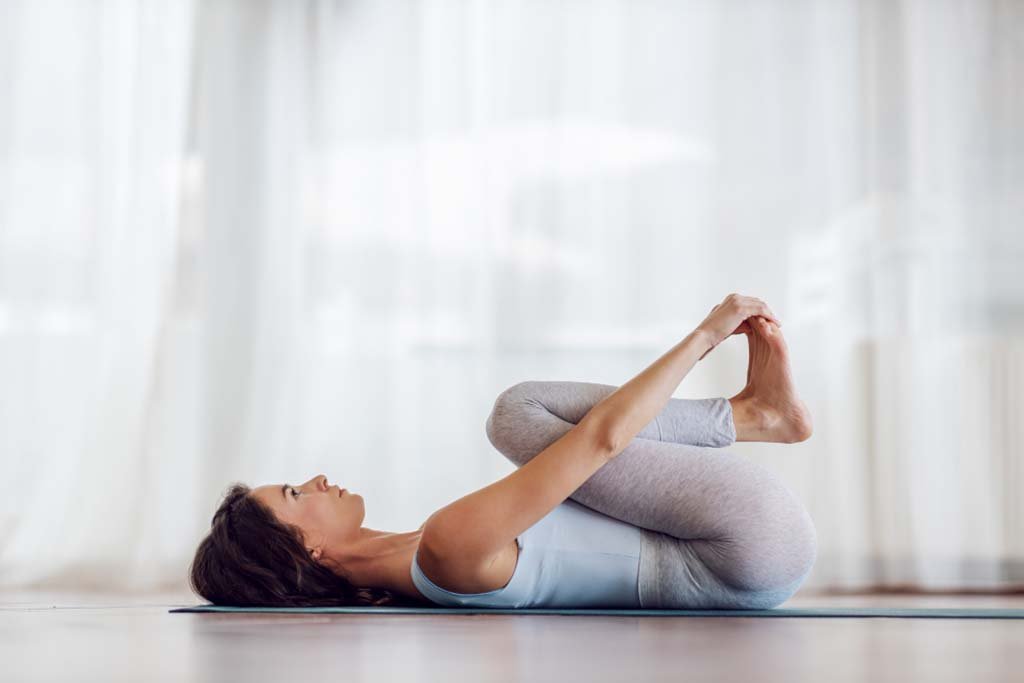
Happy baby pose
This pose works for your hips flexor muscles opening and lower back.
Start with lying on your back with your knees bend. Try to hold the turns of your feet with your hands as your progress your knees towards your chest. In doing so try not to raise your lower back off the ground. In pulling your thumbs try to feel the stretch from your lower back and hip muscles. Try to stay in this position for at least 9 10 breaths and then repeat.
Yoga poses for hip pain
Just as yoga poses for lower back pain, we have now more centered and focused yoga poses for hip pain. All of the following yoga poses are about stretching the hip flexor muscles. All of these reduces the stiffness and restricted movement of the hips muscles and joints in a good manner.
Child Pose
This stretch is all about a warmup session of your hip muscles. Begin with lying on your yoga mat with your chest hugging your knees. Pull your arms above your head on the ground to extend your spine and shoulders to full length. Start with placing your hips on your heels and lift your hips above gradually as your move forward towards your hands.
Retreat back to normal position and repeat.
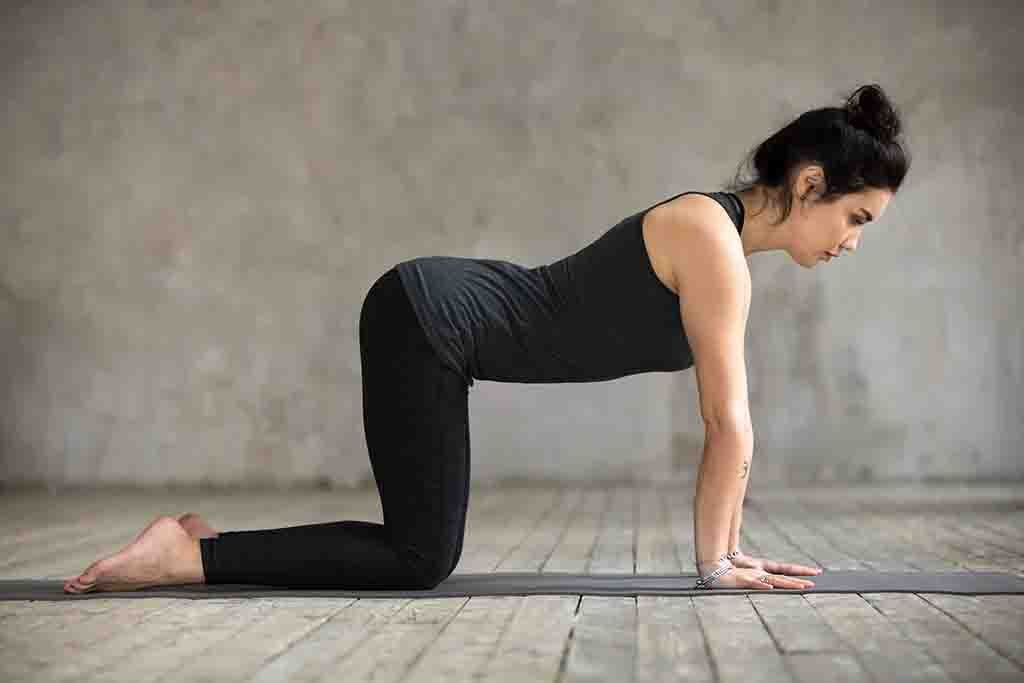
Bending hip rotation Pose
To start this pose come to the tabletop position with all four limbs on the ground. Keeping your spine straight and shoulders on top of your arms try to create small circular rotations with your hips. First, try 4 to 5 circles in one direction and then the other side. Try to maintain your posture as you rotate.
Repeat as many times as your body allows.
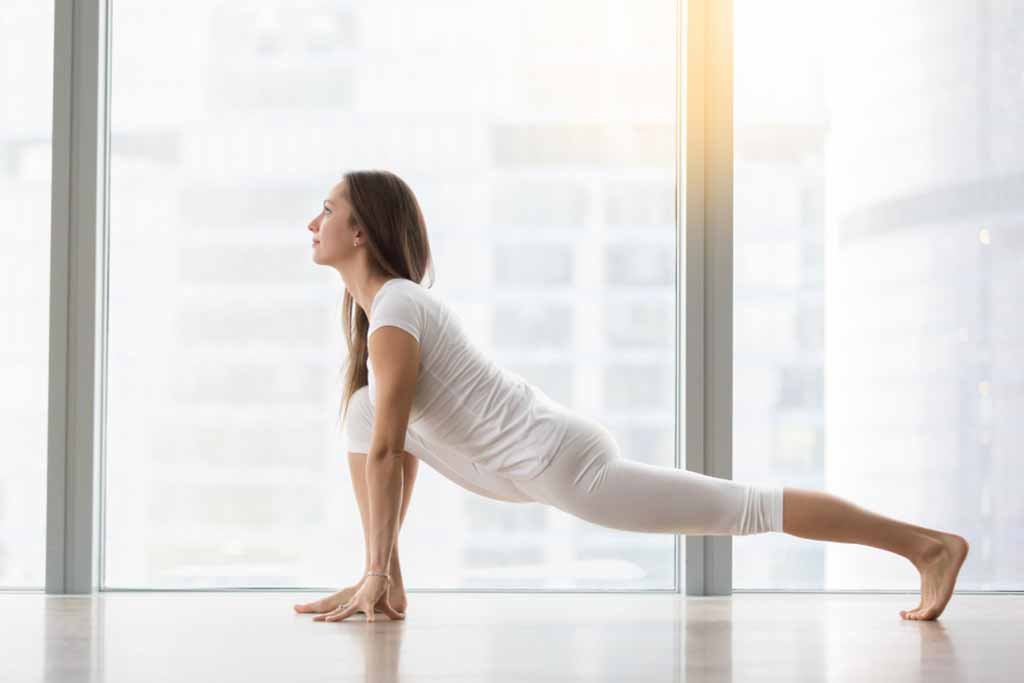
Low lunge Pose
Begin with sitting on your knees while keeping your spine and shoulders straight. Now pull your right leg out with the sole of the feet rooted to the ground. Let the other leg stick to the ground at the back of your hips. Now move your chest closer to your thigh and place your palms either on your thigh or on the floor of the mat. Start in this folded position for 5 to 8 breaths and release the pose.
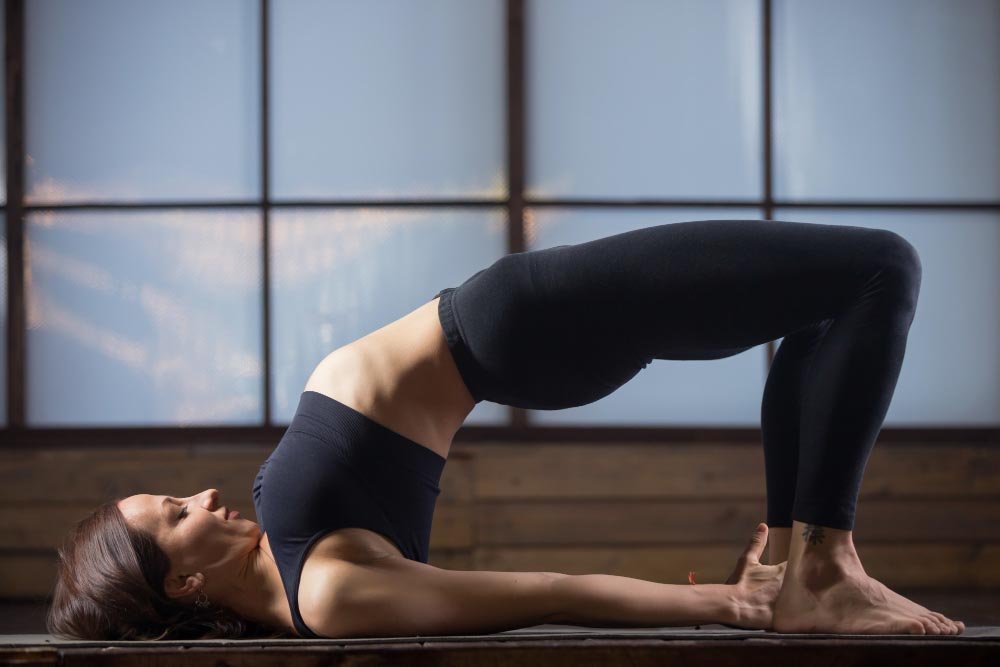
Bridge pose
Initiate with your back parallel to the floor of your yoga mat. Raise your knees up in bent form. Tuck your palms right beside your abdominal cavity and keep your neck and shoulders straight.
Now with forcing your palms down, raise your hips up such that your chin meets your chest. Keep your head straight and gaze towards the ceiling. Hold this position for 8 to 10 breaths and release.
Pigeon Pose
Begin with all at four. Now move your right leg inwards as your right sole touches your left inner thigh. With this bending, help your left legs to extend at the back of your hip with your left sole not rooted to the ground. Once your legs are extended, try to keep your spine, neck, and shoulder as straight as possible and feel the opening at your flexor muscle.
Hold for 5 7 breaths and then repeat it with another leg.
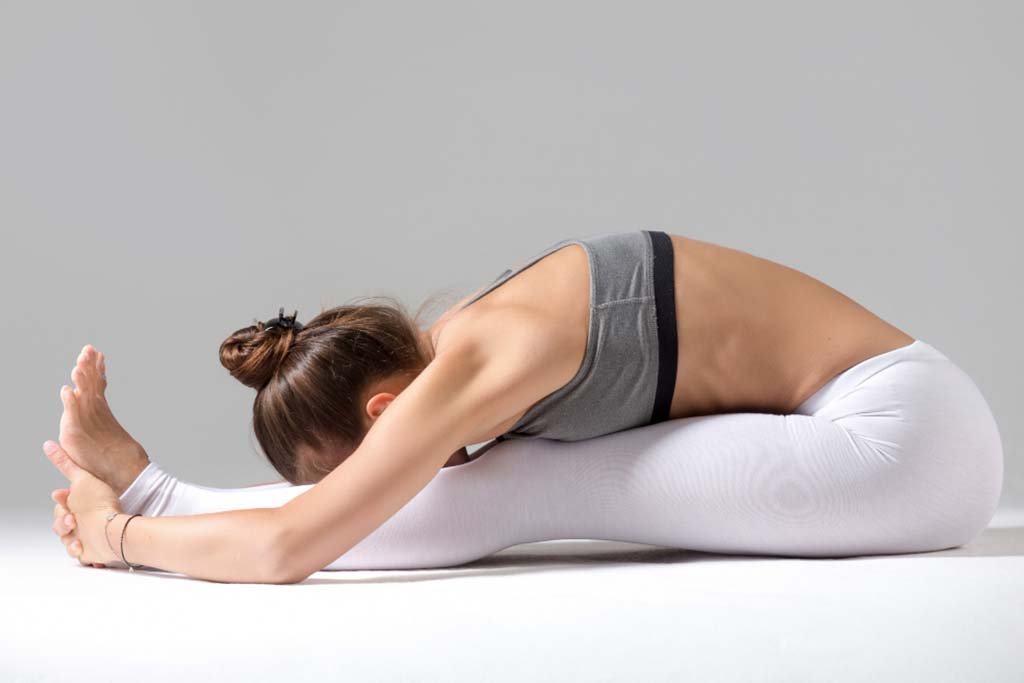
Head to knee pose
Extending from the pigeon Pose, the transition can be made easy for the head-to-knee pose. This pose involves your thighs, groins, and hamstrings.
Start with sitting on your hip bone with one leg extended straight and the other sole touching your inner thigh. Exhale and bend yourself towards your thigh. To secure your stretching you can hold your extended feet or sole clasped with your hands. Stay for 5 to 8 breaths and move your body back to starting position.
Happy baby pose
Yes, you are almost done. You did it. Our final pose is all about absorbing what your body has gone through.
Begin with relaxing your body as your lie down on your yoga mat with ease. Now pull your legs up towards your chest. Let the knees hug your chest completely. Now extend your arms from inside of your thighs and try to grasp your feet.
Stay in this position for 5 breaths and repeat after the release.
Conclusion
So in our concluding thoughts for yoga for lower back pain and hips pain, these are connected to one another in one way or another. Even if it is your bad posture or physical injury yoga stretch can help you sort all these problems at home. So here we are with yoga for lower back pain and hip pain to counter all your problems. Yoga stretches bind and opens your muscles and joints in the lower back and hip area that enables its mobility.
Yoga binds your body and mind to enter peace and relaxation to soothe your stressed muscles and joints. If still, your pain irritates you then you can consider going to a physician. Till then yoga and work from home J stay safe to stay healthy.